Help:Images/Image transparency

For some images it is worthwhile to add ```transparency``` to further enhance an article. This is especially important when taking screenshots from the FHX Editor - allowing you to delete the black background to make the subject clearer. Transparency may be applied before an image is uploaded or once it is already on the wiki. Previously uploaded images that editors need to add transparency to can be found in Category:Images needing transparency.
This guide will cover how to apply transparency using GIMP [1] - a free and open-source image editor.
Info:
Transparency
| 1. | Open your image in GIMP. | ||
| 2. | Add Alpha Channel to the image layer. | Click Layer (top) > Transparency > Add Alpha Channel | 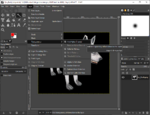 |
| 3. | Select the background. | Click Fuzzy Select Tool (top left) > click the black background. | 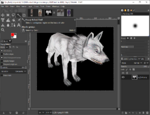 |
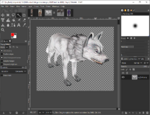
| 4. | Delete the selection. | Press Delete. If there are any background areas contained within the image, like around arms or hair, those can also be selected and deleted.
Info:
|
 |
| 5. | Crop the image. | Click Image (top) > Crop to Content | 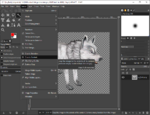 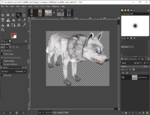 |
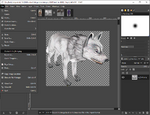
| 6. | Export the image as .png. | Click File (top left) > Overwrite if already a .png or Export to save it as a .png.
Info:
|
 |
| 7. | The image is ready to upload! | ||
| How to help |
|---|
|
